Getting started
From zero to your first sale on Didacta Cloud. You need an email address and, to get paid, your bank and business details; you do not need a card or any technical keys.
1 · Sign up
- Go to didacta.io/en/start (in Spanish,
/es/start; in Brazilian Portuguese,/pt-br/start). - Fill in your academy's name, your name, your email and, if you wish, your phone number.
- Choose where your bank account is. It is where what you sell will be sent, and whether you can get paid depends on it: see the supported countries.
- Accept the terms of use and the privacy policy, and click Create my academy.
You receive two emails: one with your academy's address and another, separate one, with a link to set your password. If they do not arrive within a few minutes, check your spam folder.
One sign-up per email
Each email address can open an academy only once. If you already had one with that email, the form tells you.
The academy starts in the language you signed up from (Spanish, English or Brazilian Portuguese) and you can change it later in Your academy.
If your bank is in a country where payouts are not available
You can create the academy and build your community and free courses, but you cannot get paid for sales yet. The sign-up tells you plainly and does not send you to connect payouts you could not use. Depending on the moment, you may instead be put on a waiting list and be told when payouts open in your country.
2 · Three questions
The first time you sign in it asks for your photo and name (you can leave that for later) and then three questions:
- What is your academy called?
- What are you going to sell? A course (one-off payment: whoever buys it gets in for good) or a membership (monthly payment: access to your courses and the community while they pay). You pick one thing to start with; you can add more later.
- How much does it cost? The price and the currency. Below, you see how much you keep from each sale: Didacta keeps 5% and Stripe charges its card fee.
You also choose the academy language. This creates the course (or the membership) as a draft, the basic community spaces and a welcome post signed by you. It is all real data you can edit or delete.
3 · "Start here"
The Start here screen takes you from zero to a link you can sell with. There are six steps:
| Step | What you do |
|---|---|
| Your academy | You add your logo and colour. Without a logo, the academy uses your initials. |
| Your first course | You add a lesson (video, text or PDF). One is enough to start selling. |
| Price | You confirm what each student will pay. The one from sign-up is only a starting point: until you confirm it, the step does not count as done. |
| Connect your payouts | You set up your Stripe payout account (about 5 minutes) and then your tax details. Details in Payouts. |
| Publish and copy your link | Your course (or membership) goes on sale and you get a link to share. |
| Invite your first students | You share your link wherever your people follow you, or invite them by email. |
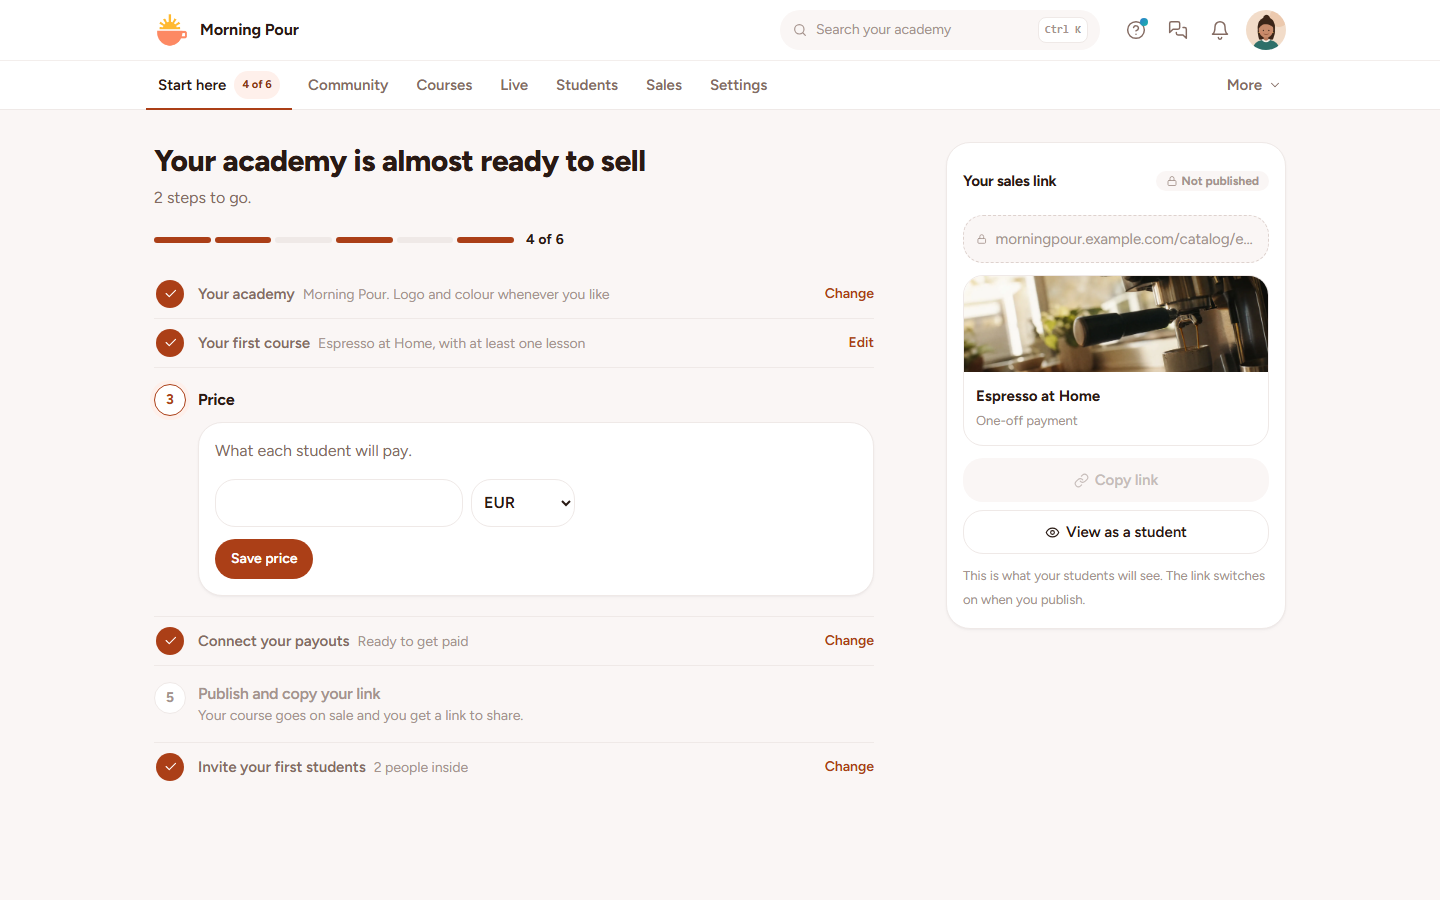
- Publishing needs at least one lesson, a price and connected payouts: without them nobody could pay you, so the academy does not let you publish.
- If your payouts are connected but your tax details are missing, you can still publish: your students will be able to buy, but the money from sales is held until you complete them.
- If you get stuck, the Get help button on the screen itself writes to the team (see Support).
4 · Your first sale
When someone buys:
- The academy notifies you and the sale shows up in Sales with what they paid, the card fee, Didacta's 5% and what you receive.
- The student sees a summary of the purchase and receives the receipt by email.
- "Start here" becomes Home, with your summary of sales, students and next live class.
- The video you can upload gets higher limits: see Video, inactivity and backups.
Afterwards
- Sell more: turn on Invite and earn so your students bring in more people.
- Make the academy yours: logo, colour, language and email in Your academy.
- Go beyond simple mode: in Settings → Switch to the full mode you get every advanced option; nothing is deleted and you can go back whenever you like. See the visual walkthrough.